Silicone Molds#23Studio
Silicone Housing
Adaptive rigid shell: pour silicone around your real object and get a flexible mold
A shell fitted to your real object: pour silicone around it and get a flexible mold while using less silicone.
Designing and previewing in 3D is free for every tool. A plan is only needed to download the ones marked Pro or Studio. See plans

Step by step
How it works
Step by step, to the finished piece
Upload the STL of your object as a reference (it isn't printed) or use an example.
Choose how many pieces make up the shell and how thick the silicone is.
Print the pieces, assemble them around the real object, close them with the closure you chose and seal the seams.
Pour the silicone, let it cure and open the shell to take out the mold.
What to watch out for
- Seal every seam with modelling clay or tape: silicone finds any gap and leaks out.
- Tin-cure silicone isn't food safe: for food, use platinum-cure.
What you need
Materials and tools
- A filament (FDM) 3D printer
- PLA or PETG filament
- The real object and its 3D model as an STL
- Mold-making silicone, platinum-cure or tin-cure
- Modelling clay or tape to seal the seams
Silicone Molds: other tools
All tools
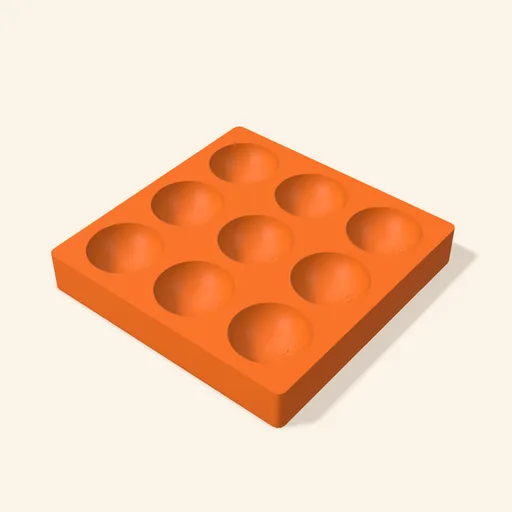


Silicone Housing
A shell fitted to your real object: pour silicone around it and get a flexible mold while using less silicone.
Open in the designer